 In an earlier post, Mike Massey described Setting Up 3D Views for Levels in your Revit project. I agree that this is a great idea and very useful for creating consistent looking isometric views of each level in your project. Views like this often convey a layout to your client more effectively than a 2D orthographic plan view.
  Note: the section box uses the View Range or Far Clip Offset and Crop settings to define the section box.
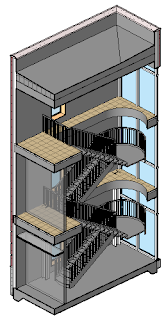
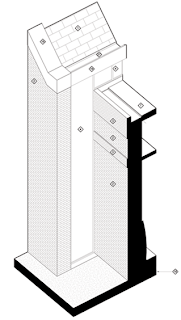
While designing in Revit we are constantly building our project virtually. This is an opportunity for adding 3D views of the design to the construction documentation. New to Revit 2012, we can lock a 3D view and add more annotation.Consider creating 3D section views from wall sections, stair sections, elevator shaft sections and other callout views, to enrich your documentation. You create these views the same way Mike describes in his post.
- Create a floor plan, section or callout view.
- Create a new default {3D} view, and rename it. (i.e. 3D Stair No. 1 Section)
- Open new 3D view
- Right-click on View Cube and go to Orient To View►Floor Plans or Sections or Elevations or 3D views►View
- Orbit view to desired orientation
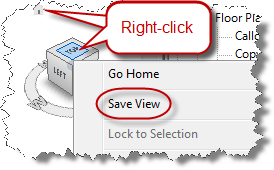
- To save current view, right-click on View Cube or Home►Save View
- To preserve the orientation and lock the view, go to the view control bar. (new in 2012 release)
- Optional: Annotate the view with Dimensions, Text, Keynotes and Tags
- Optional: Visual Style, Shadows, Filters, Ghost Objects for greater visibility.


No comments:
Post a Comment
Note: Only a member of this blog may post a comment.